Saturday, November 26, 2011

Sturm & Drang

Today I present Sturm & Drang, a single concoction of a warlock for the Minion forces of Hordes (from Privateer Press). He (they?) work mainly for The Farrow army, and provide a duality of beast. Another commission piece from the continuing support of the Farrow, the client wanted it done with a little more detail than usual. The jack parts you see on the base were supplied, so we added them with flair as if the caster just took down the warjack, or at least he is standing on its remains. I kept with the same theme I have been going with for his pigs, so why change now?


You can almost sense his duality with the different armor types on each hand and head. This one was fun to paint (as they all are), and now that he is clear I can begin on one of my next many projects, which one do I choose?


Until next time, keep clever thoughts in your head for moments like these.

Wednesday, November 23, 2011

WIP 8 bit dungeon:extras

Continuing my work on the 8-bit dungeon (before Super Dungeon Explore arrived) I was able to work on some extra bits I may need later on. Most of these didnt turn out 100% the first time, but gave me the look of how I wanted them, and now I can rescale or re-size. So here are some extra bits::

6" wall::
For those extra big room, I decided to have a 6"wall. This would work better than a 4" and 2" wall put together and leave those for other areas of the dungeon.
 
 6" wall, cut out and ready for assembly.
6" wall all assembled.

2" doorway arch add-on::
 The basic shape, ready for cutting.
 The archway all assembled. You can still see some white, this is one that
didnt work 100%, but gives me the look and idea what I need to change.
The prototype archway ontop of a 2"wall.
There is a bit of an overlap, but that will be fixed later on.

1" stairs::
The stairs were a bit trickier than I imagined. Overall I am happy how they turned out, but I made them a bit too big, more like 1 1/4" than the 1" I was going for. The pics below actually show the whole construction of the stairs.


There are the completed stairs. It looks good, I just have to re-size them.

And there you have the extra bits I worked on last week. Now that Super Dungeon Explore has arrived, I gotta get some games in! That and commission work needs done - I will post those pics when I get to them :)

Until next time dear readers...

ITS HERE! Super Dungeon Explore!

As you might be able to tell, I am a bit excited. Super Dungeon Explore has arrived (bout 2 days ago) and I have been busy with it, and my full time job. But I unveil for your eyes now, my unboxing of Super Dungeon Explore from Soda Pop Miniatures!

 The box, in all its glory
 

Here are the 5 beautifully illustrated, double sided dungeon tiles and 1 adventure tracker.

 Tokens, and lots of them! 16 different types, not counting the loot, start, and tracker tokens.

Colorful dice used for the game.

Cards. Inside we have a total of 105 cards. 9 hero cards, 20 monster cards,
24 treasure cards, 48 loot cards, and 2 terrain cards.

And finally, the miniatures and a bag of bases.

Inside the miniatures bag are 7 other smaller bags to divide up the monsters and heroes.
Red miniatures are monsters, grey minis are the heroes.

And there you have the unboxing :) Now I am going to assemble the minis and take some pictures. I am planning on painting them all, but after the commission work I have just been given (2 different ones). Hope you enjoyed this, but I know not as much as I have.

Wednesday, November 16, 2011

WIP 8bit Dungeon: Walls

Continuing the 8bit style dungeon, this post is all about the walls. I started with the original 2" and 4" wall, because with the pillar placements I would be working on the even side of numbers, that is until I wanted a large room that ended up measuring 7" long. From there I was able to successfully make a 1" wall. There is a 6" wall I am working on, but it will be in another update as it didnt make it to the final print yet.

So here we go, walls and their assembly::

First up is the 4" wall. Here you can see the printout copy.
I was able to fit 2 of the 4" walls on 1 8 1/2x11 paper.

One 4" wall cut out and ready for assembly. 
 

 One completed 4" wall.


Next up is the 2" wall. Here you can see there are 3 of the 2" walls per page.

2" wall cut out and ready for assembly.
 

 2" wall finished.

Now for 1" walls. Here we can see there are 5 of the 1" walls on one page. This is the actual prototype page, I ended up shorting the top fold, but after some work made it longer, It wasnt fitting right.

Here is a 1" wall all cut out and ready for assembly.
 

 One complete 1" wall

And those are the walls. The biggest trick is making sure those walls all line up with the same design.
Right now I will show you a sneak peak ;)

Blurry pic, but they all match up. And this is all coming together. I just need some doors now, and that is for another post. Next time on WIP 8bit dungeon I will show the look into the doors for this dungeon. Until then

Tuesday, November 15, 2011

WIP 8bit floors 2

Well I guess I should continue the floors, before I begin with the rest of the dungeon. As you seen earlier the floors were assembled and this will cover the pillars, floor covers, and completed floors!

As before this could be used as a semi tutorial for the Fat Dragon Games EZ Dungeon. Although this is still the prototype of my own modification the "8-bit Dungeon". Ready? Here we go::

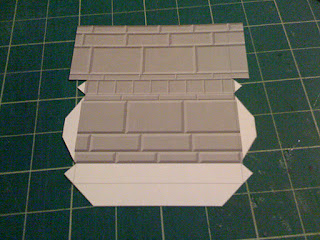
Pillars and floor covers::

 So here we have the printed page of the pillar and floor covers. Retro right? I hope so, thats what I am going for. Anyhow you can see the floor covers look just like the floor tiles, lets hope they match up.

We cut one of the pillars away from the rest of the page, being careful not to cut away the white blank areas, those are how we glue this thing together.

Cut free, glued, and assembled. Here we have 1 - 1" square pillar. Notice the white strip at the bottom? that is there on purpose, you will see later.
 

One page completely cut out and assembled. Here we have 2 of the 1" square pillars and 5 of the floor covers. Now we will see how everything matches up.

Assembly of the floors::

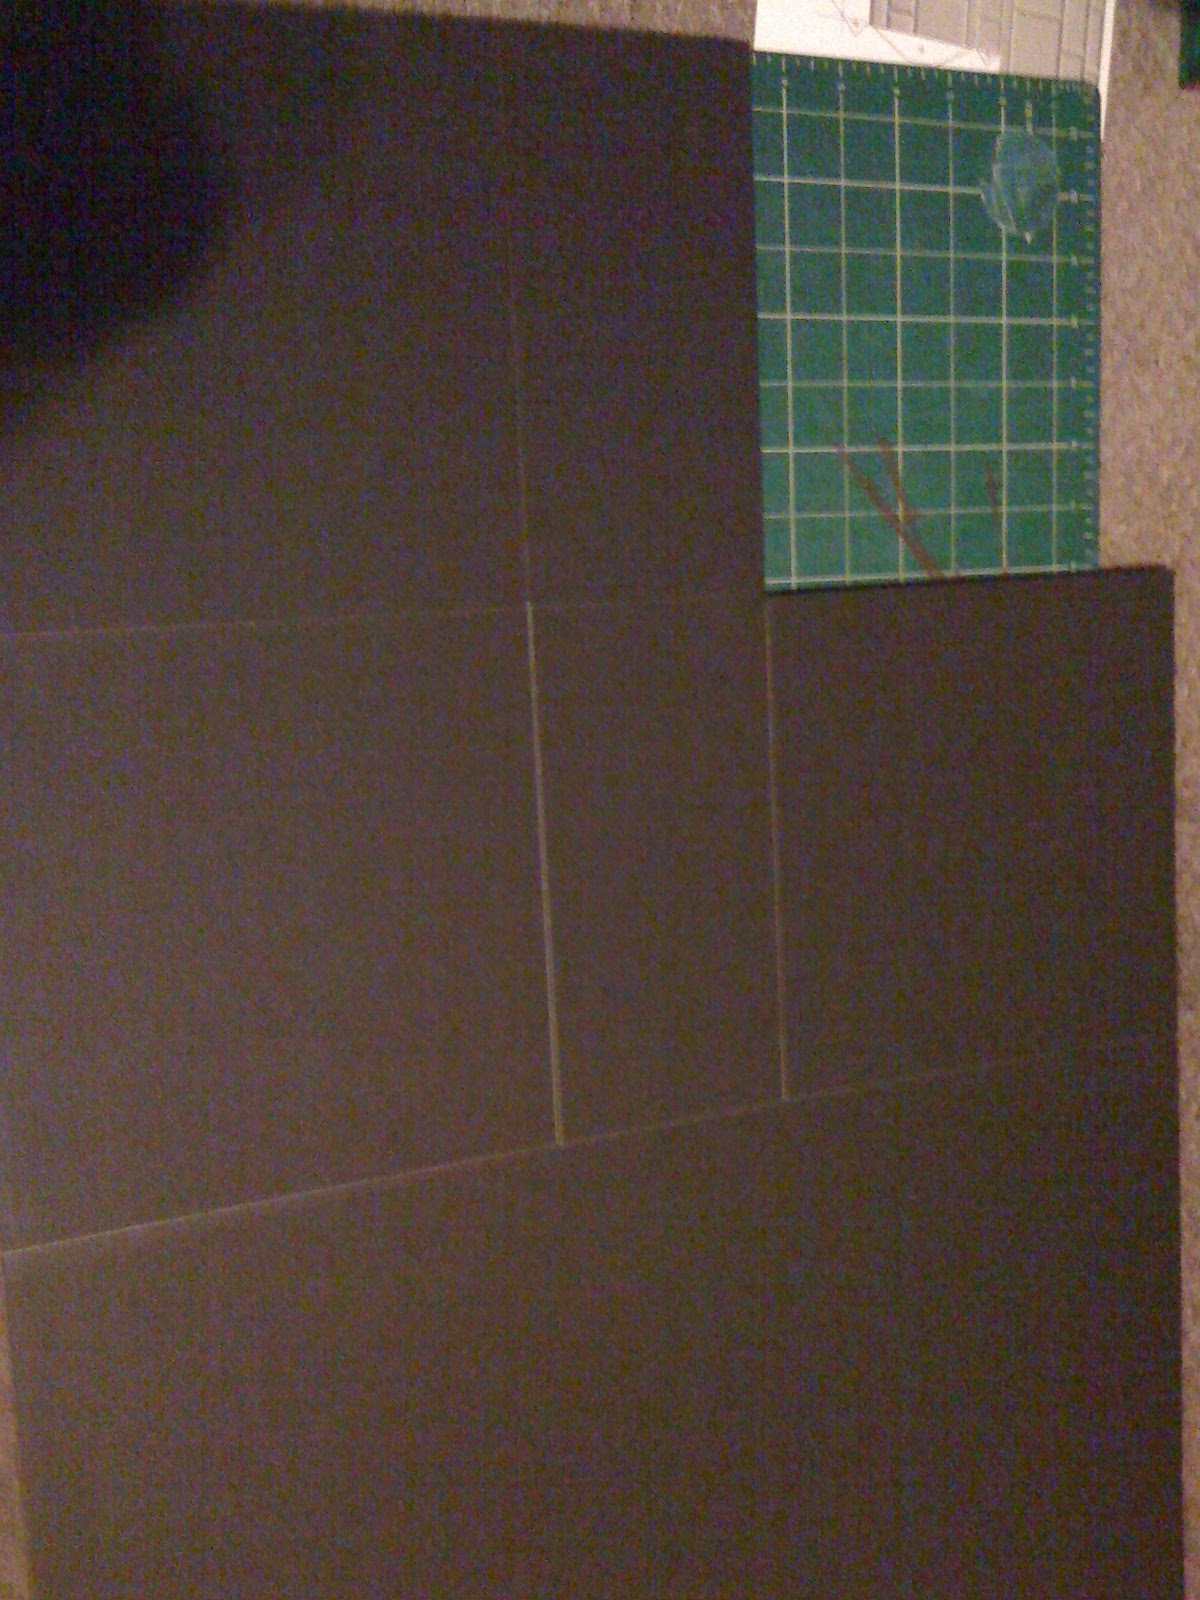
 We take our floor tile, the one completed from the other post. 8"x8".
 Measure in 1" and up 1". Easy for me since the squares are exactly 1"x1", the typical size block for movement. We use a SHARP balde to make the cutting easy. A dull blade may tear the foam below and botch up the design (both the art and the placements). Now cut out that square.
 Follow suit with cutting the next block out. And the next and so on.
 Here you see all 4 blocks are cut out. You can even see the squares that were removed.

Here is the complete complete 8"x8" floor tile. On the side are the tile covers and we will see if they match up.

You be the judge here. 2 of the empty spots are covered with the floor covers. At first glance you can barley tell they are there. Overall I think they work perfect.
 From another angle. I dont even notice where the other one is at first. This is a happy moment.

Now for the pillar test. This is the pillar from earlier, lets see (and show) how it fits.

Pillar inserted into the hole. The white ring left at the bottom is hidden and the pillar fits snug. This shot is to show a pillar, 2 floor covers, and one square left open.

All in all, I think I am off to a good start. Next we (I, I mean I) will show you some walls that were done up. Remember to use a fresh clean sharp blade when cutting foam. Also remember to keep fingers clear from the blade :)

WIP 8-bit dungeon floor

My first Work In Progress (WIP) on the 8-bit dungeon will be the floors. This is also a semi-tutorial because I will go into steps on how I assembled them. As most of the 8-bit dungeon is parts from Fat Dragon Games, this could also be a "how to assemble" that stuff as well.

Floors::
 We start with a piece of foamboard. This will be the base of the dungeon, the underside. I used black for this dungeon. You can see the measurements in pencil, this is where I will cut out the floor tiles. I am going for a modular dungeon. Meaning I can swap out floor pieces or add pieces for a larger dungeon.

Here you can see all the floor tiles cut out. We have 4- 8"x8" and 2- 4"x8". My floors for this dungeon will be 8"x8", the two smaller tiles were just a byproduct of the width of the foamboard, but I can still use them later on, adding onto a tiles already to make a larger room (see modular).

Here we have the floor tiles themselves, made by me and printed out (also by me). These are the full 8"x8" sheets. They were printed on sticker paper (also known as label paper).

Here you can see the blank black foamboard floor tile and the printed sticker floor tile, all cut out and ready to be applied. You want to make sure the foamboard is smooth and nothing is ontop before you apply the sticker, or you will have bumps.

Floorboard/tile complete!

Next we will look at some of the other pieces I have constructed.